 International
 Singapore
 Malaysia
 Thailand
 Vietnam
Your shopping cart is empty!

Detect RGB Color With Raspberry Pi Pico
- Hussien Jawhar Sathik
- 01 Jul 2022
- Tutorial
- 1246
Introduction
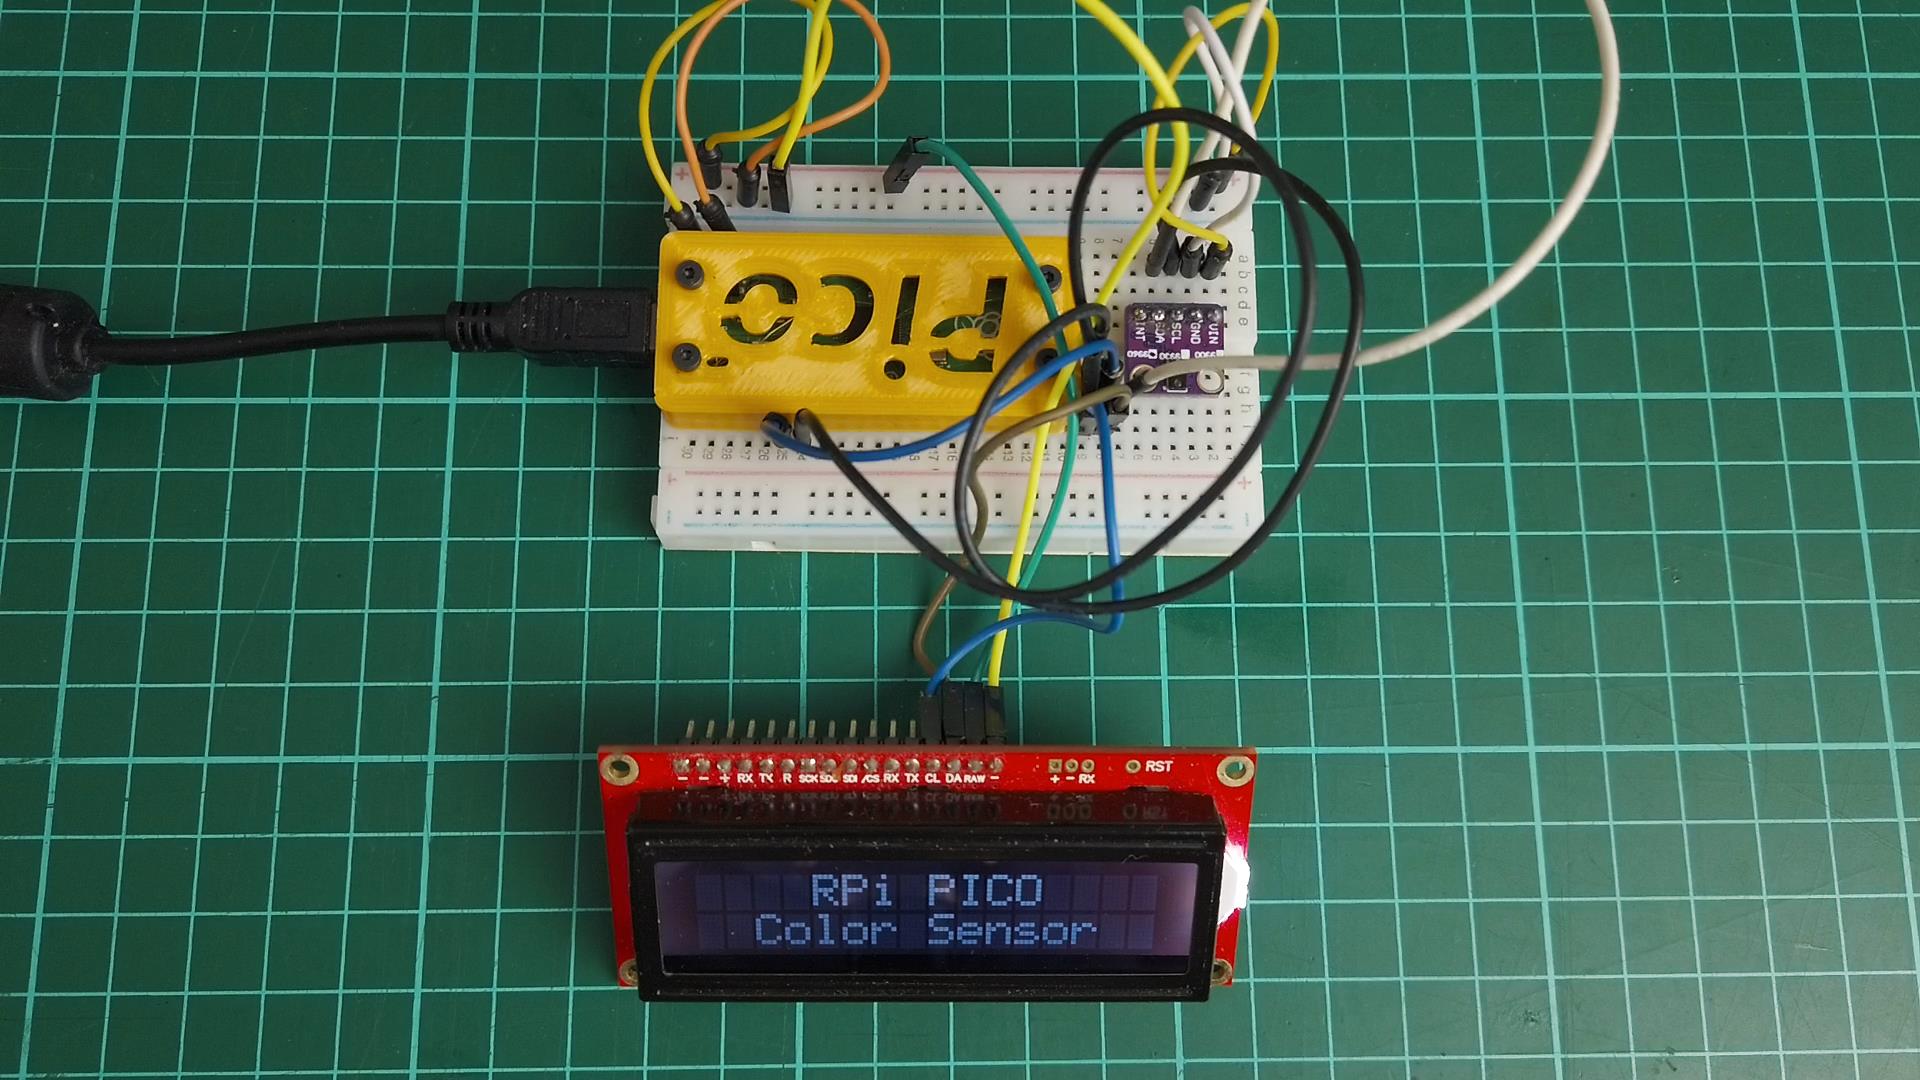
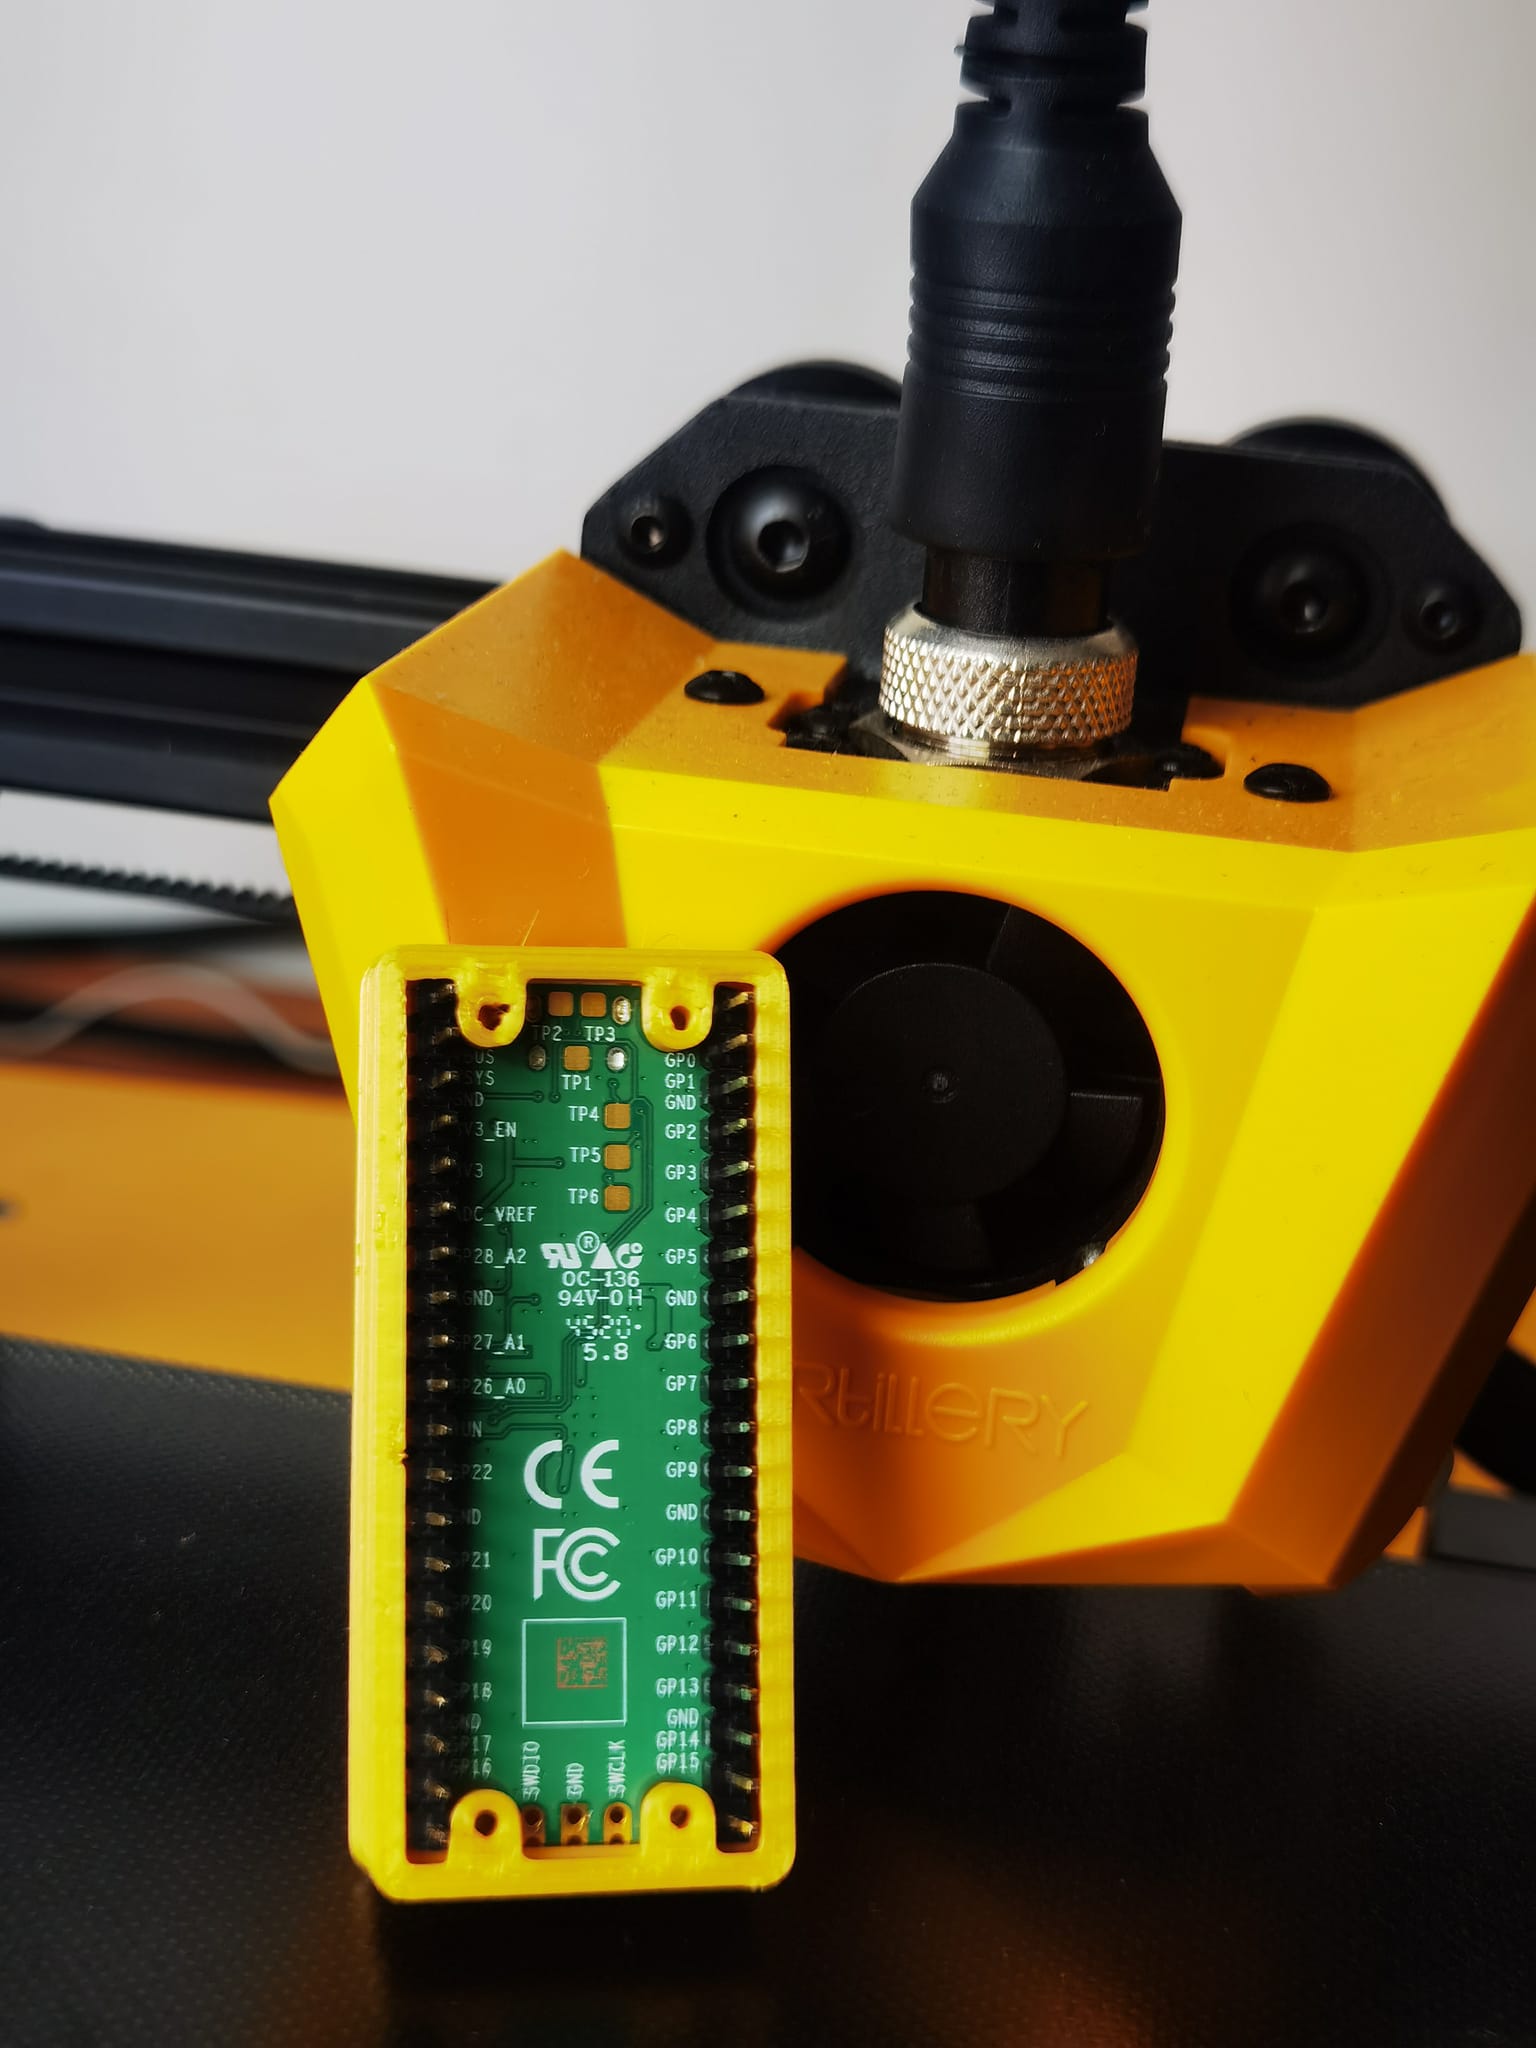
In this tutorial we shall see how to detect the RGB color using Raspberry Pi Pico and APDS 9960 sensor. The result is then displayed on the Sparkfun RGB lcd. Basically the sensor is capable of detecting gesture, proximity, light and RGB. For this tutorial we focus on detecting the color using the Raspberry Pi Pico. Also for the Raspberry Pi Pico casing i have 3D printed a casing.
Video
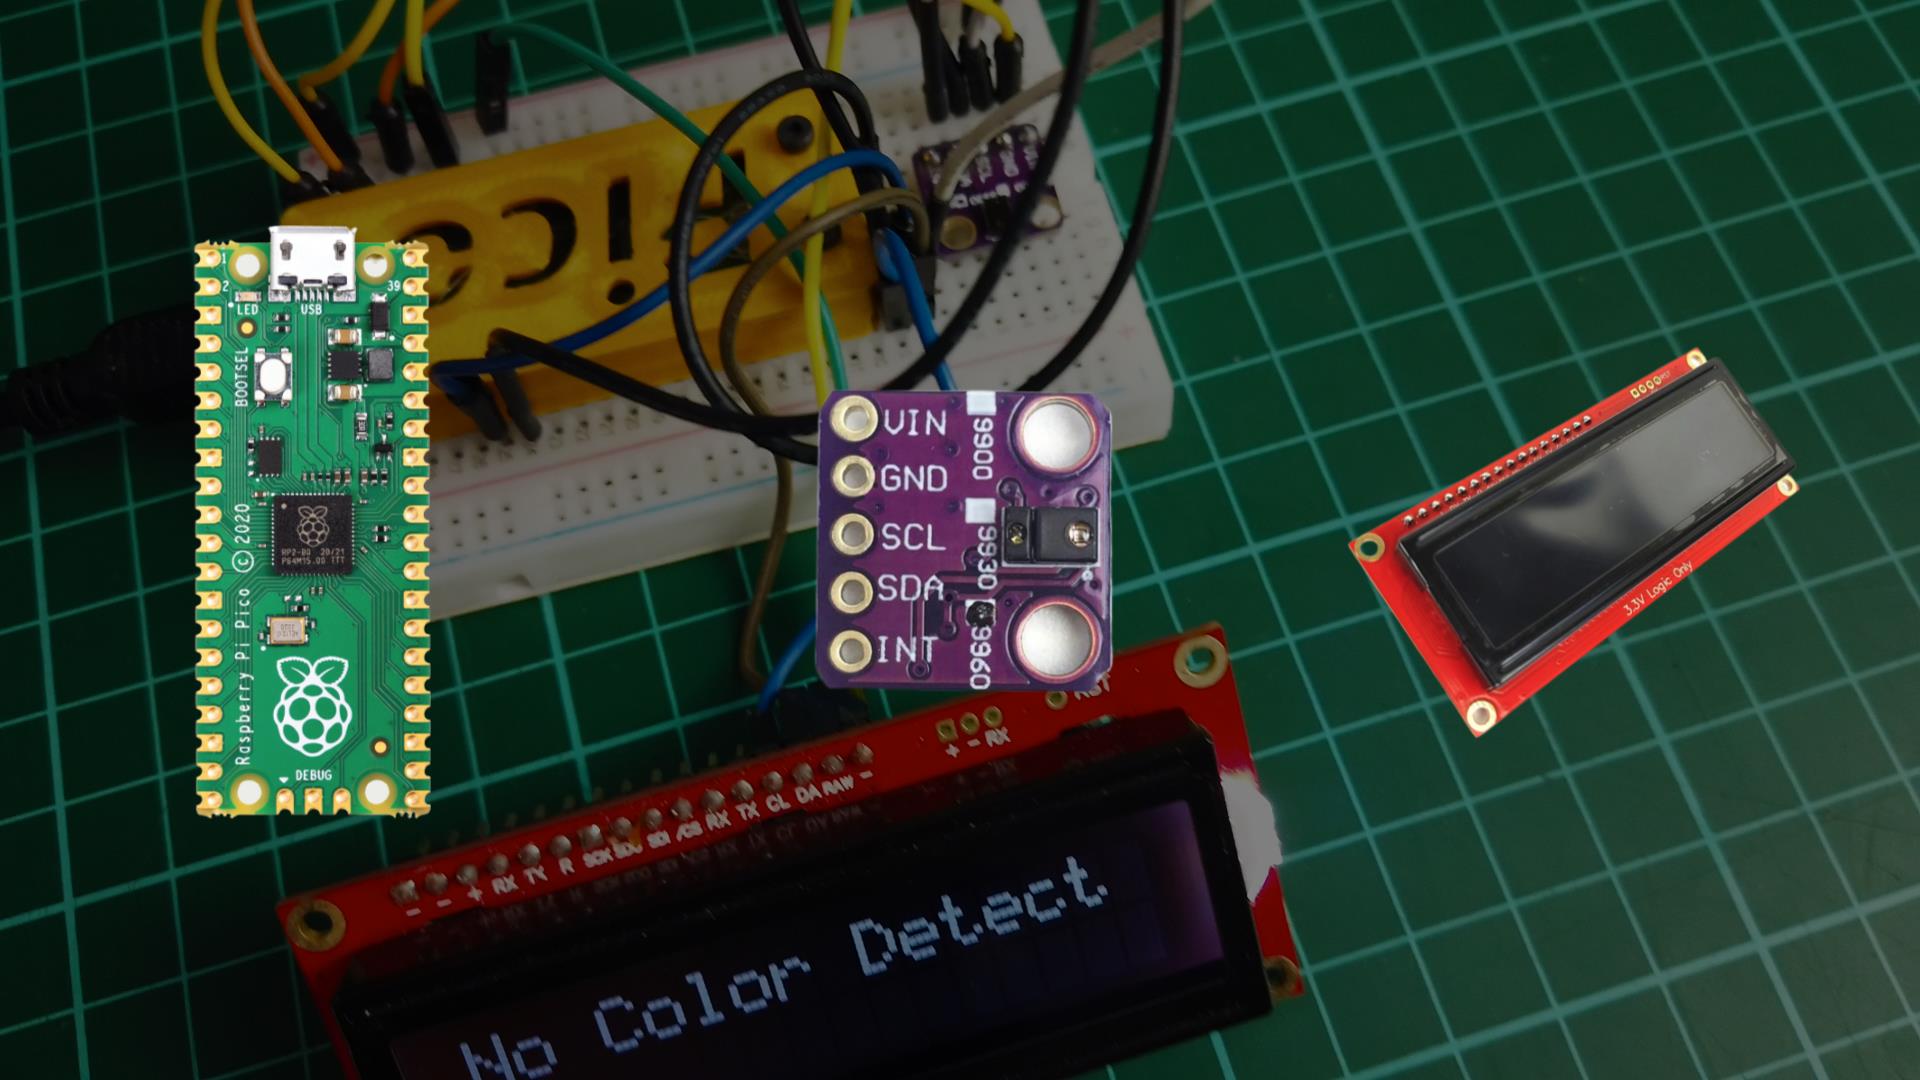
Hardware Setup
This are the devices used in this tutorial
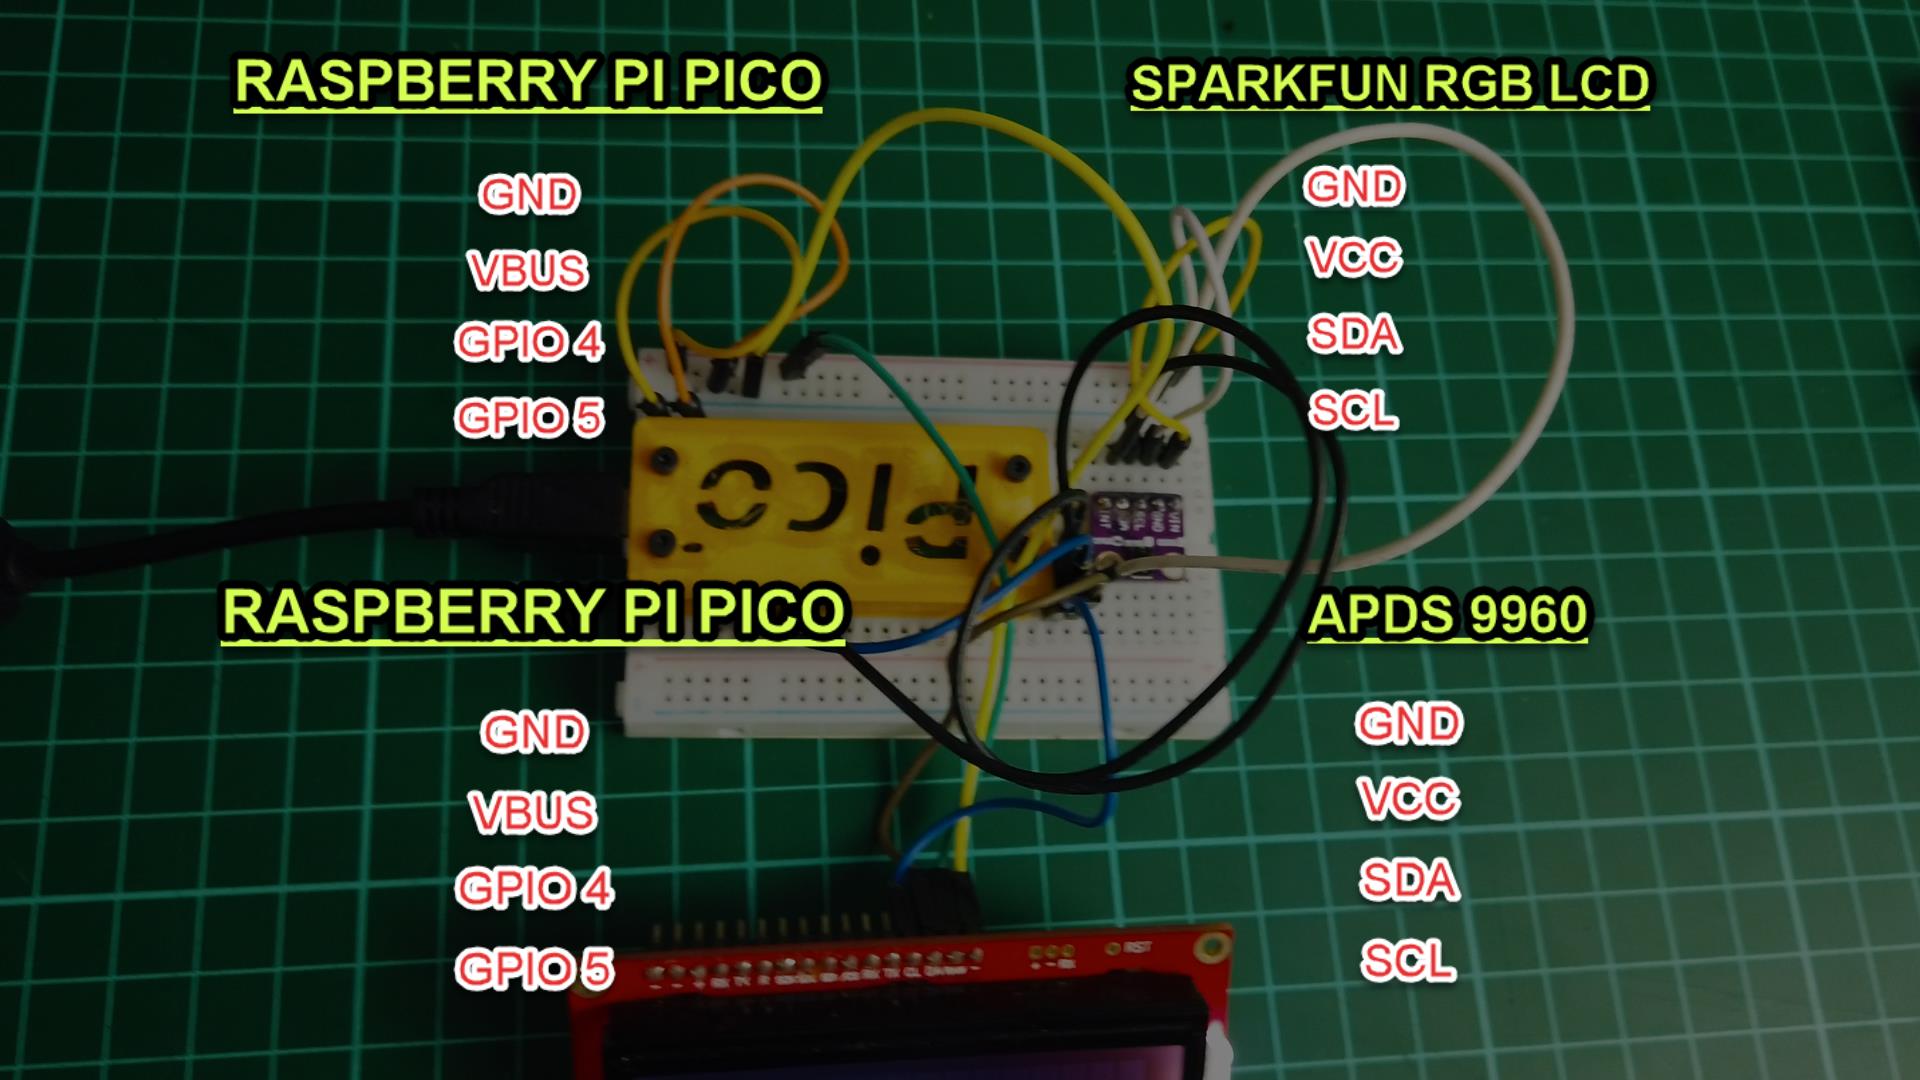
The connection between the devices are done as shown in the figure below
Coding
Below is the code in this tutorial
#include
#include
#include
SerLCD lcd; // Initialize the library with default I2C address 0x72
SparkFun_APDS9960 apds = SparkFun_APDS9960();
uint16_t ambient_light = 0;
uint16_t red_light = 0;
uint16_t green_light = 0;
uint16_t blue_light = 0;
uint8_t proximity_data = 0;
void setup() {
Wire.begin();
Serial.begin(9600);
lcd.begin(Wire); //Set up the LCD for I2C communication
lcd.setBacklight(255, 255, 255); //Set backlight to bright white
lcd.setContrast(5); //Set contrast. Lower to 0 for higher contrast.
Wire.setClock(400000);
lcd.clear(); //Clear the display - this moves the cursor to home position as well
lcd.setCursor(0,0);
lcd.print(" RPi PICO ");
lcd.setCursor(0,1);
lcd.print(" Color Sensor ");
delay(3000);
// Initialize APDS-9960 (configure I2C and initial values)
if ( apds.init() ) {
Serial.println(F("APDS-9960 initialization complete"));
} else {
Serial.println(F("Something went wrong during APDS-9960 init!"));
}
// Start running the APDS-9960 light sensor (no interrupts)
if ( apds.enableLightSensor(false) ) {
Serial.println(F("Light sensor is now running"));
} else {
Serial.println(F("Something went wrong during light sensor init!"));
}
// Adjust the Proximity sensor gain
if ( !apds.setProximityGain(PGAIN_2X) ) {
Serial.println(F("Something went wrong trying to set PGAIN"));
}
// Start running the APDS-9960 proximity sensor (no interrupts)
if ( apds.enableProximitySensor(false) ) {
Serial.println(F("Proximity sensor is now running"));
} else {
Serial.println(F("Something went wrong during sensor init!"));
}
// Wait for initialization and calibration to finish
delay(1000);
}
void loop() {
// lcd.clear();
// Read the light levels (ambient, red, green, blue)
if ( !apds.readAmbientLight(ambient_light) ||
!apds.readRedLight(red_light) ||
!apds.readGreenLight(green_light) ||
!apds.readBlueLight(blue_light) ) {
Serial.println("Error reading light values");
} else {
Serial.print("Ambient: ");
Serial.print(ambient_light);
Serial.print(" Red: ");
Serial.print(red_light);
Serial.print(" Green: ");
Serial.print(green_light);
Serial.print(" Blue: ");
Serial.println(blue_light);
}
// Read the proximity value
if ( !apds.readProximity(proximity_data) ) {
Serial.println("Error reading proximity value");
} else {
Serial.print("Proximity: ");
Serial.println(proximity_data);
}
// Wait 1 second before next reading
delay(100);
if(proximity_data > 200){
if(( red_light > green_light )&&( red_light > blue_light )){
lcd.setBacklight(255, 0, 0); //bright red
lcd.clear();
lcd.print("Red");
delay(3000);
}
else if(( green_light > red_light )&&( green_light > blue_light )){
lcd.setBacklight(0, 255, 0); //bright green
lcd.clear();
lcd.print("Green");
delay(3000);
}
else if(( blue_light > red_light )&&( blue_light > green_light )){
lcd.setBacklight(0, 0, 255); //bright blue
lcd.clear();
lcd.print("Blue");
delay(3000);
}
else if( green_light > 50 ){
lcd.setBacklight(255, 255, 255); //Set backlight to bright white
lcd.clear();
lcd.print("No Color Detect");
delay(3000);
}
}
else
{
lcd.setBacklight(255, 255, 255); //Set backlight to bright white
lcd.clear();
lcd.print("No Color Detect");
delay(3000);
}
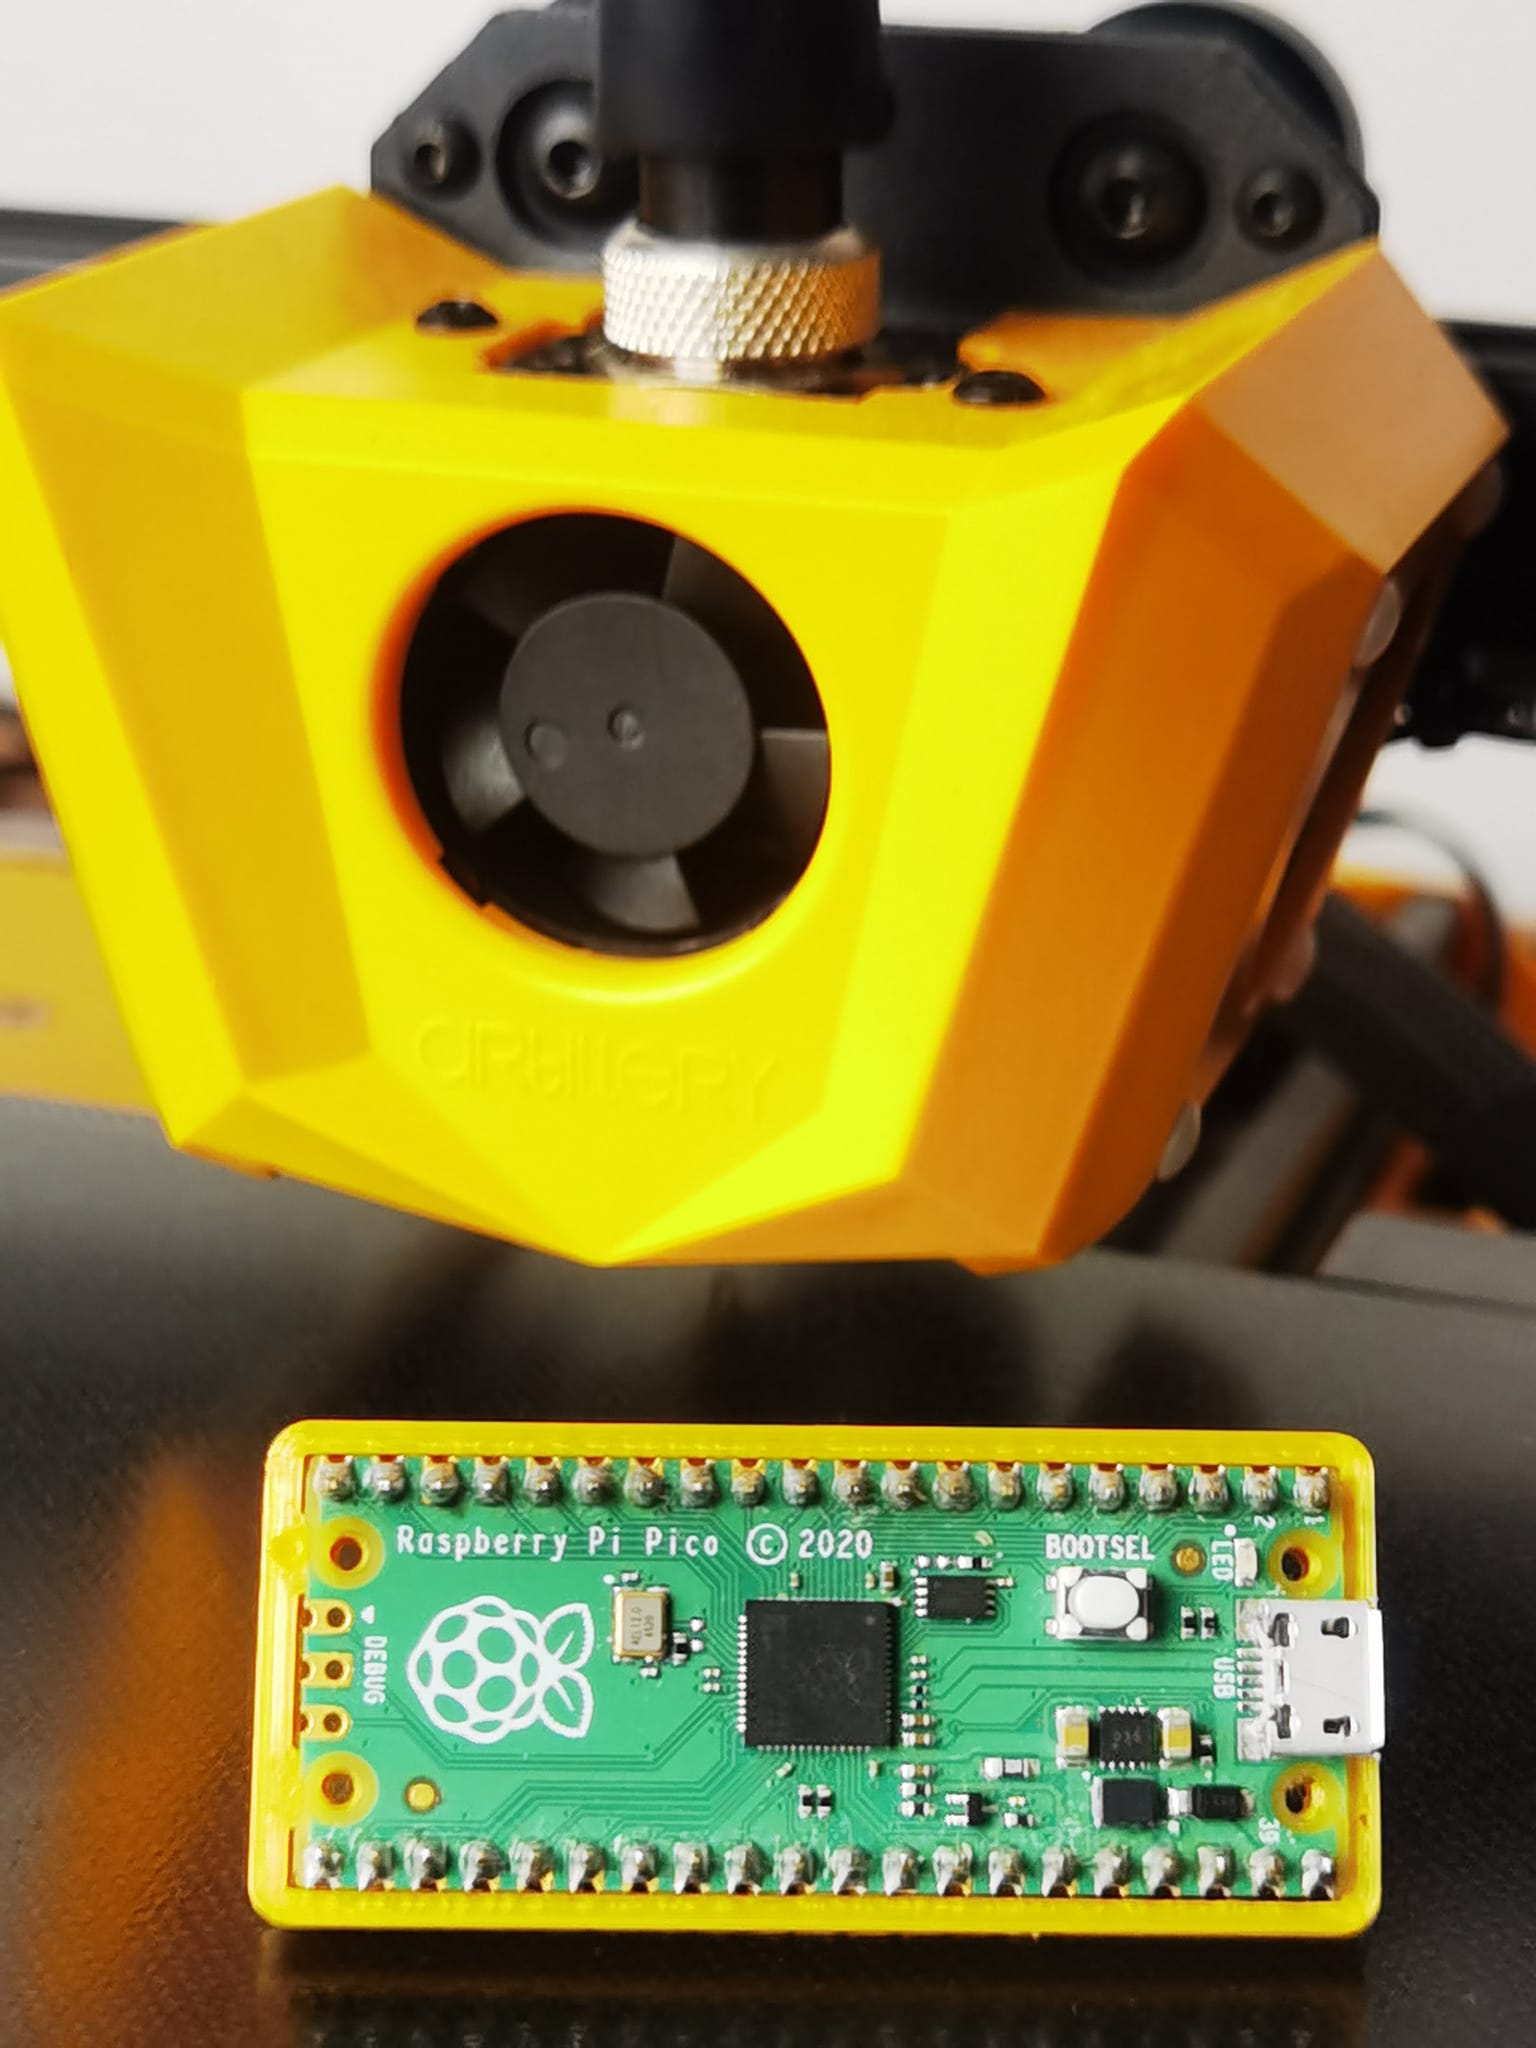
} 3D Printing
The casing for the Raspberry Pi Pico is obtained from Thingiverse.
Resources
- https://www.raspberrypi.com/documentation/microcontrollers/
- For the 3D printed casing https://www.thingiverse.com/thing:4808999
Thank You
Thanks for reading this tutorial. If you have any technical inquiries, please post at Cytron Technical Forum.
"Please be reminded, this tutorial is prepared for you to try and learn.
You are encouraged to improve the code for a better application."