Your shopping cart is empty!

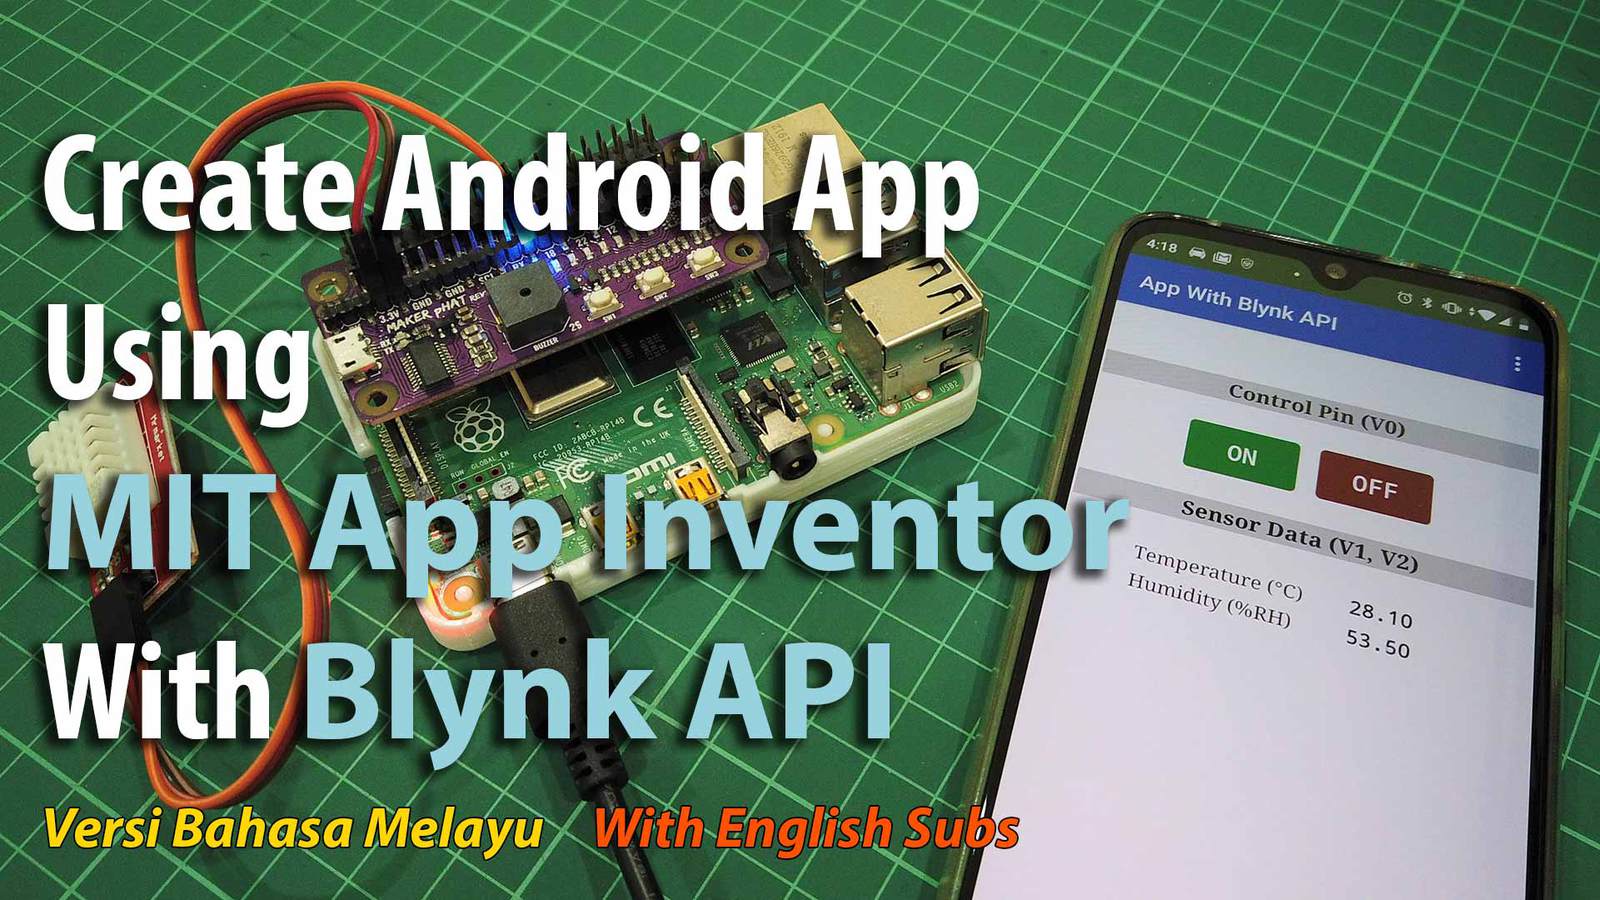
Create Android App Using MIT App Inventor With Blynk API
- Idris Zainal Abidin
- 05 Feb 2020
- 1171
Introduction
Blynk app is very popular among students in IoT (Internet of Things) project development. However, since it is very easy to use, it makes your project looks simple. Yes, you can create your own app, server, API, but it will take time, and require a lot of resources too. So we try to make it not too easy and not too hard. We create our own app using MIT App Inventor with Blynk API. It means, you create app, but still using Blynk server and API.
This tutorial require basic knowledge for:
- Raspberry Pi - Know how to start, connect to the internet and access your Pi.
- Blynk - Register to get Blynk Authentication Token, familiar with the layout and know about Blynk virtual pin.
- MIT App Inventor - Register, familiar with the layout and know how to connect to your Android phone.
Video
This video shows how to create Android App Using MIT App Inventor With Blynk API.
Hardware Preparation
This is the list of items used in the video
Sample Program
Program your Raspberry Pi with following code. Before that, please install python3 library for Blynk and DHT22 module using command line in Terminal.
sudo pip3 install blynk-library-python

git clone https://github.com/adafruit/Adafruit_Python_DHT.git
cd Adafruit_Python_DHT
sudo python3 setup.py install
For Android App, please download this file - BlynkAPIApp1.aia, and open it using MIT App Inventor.
Note: To connect to your Android phone, you need to install MIT AI2 Companion app.
Thank You
References:
Thanks for reading this tutorial. If you have any technical inquiries, please post at Cytron Technical Forum.
Related Products
Maker pHAT: Simplifying Raspberry Pi for {Educa...
$10.90 $10.90
 International
 Singapore
 Malaysia
 Thailand
 Vietnam
