 International
 Singapore
 Malaysia
 Thailand
 Vietnam
Your shopping cart is empty!

Exploring the Benefits of Cura's Support Blocker
- Abdulrahman Alhamed
- 09 May 2023
- Tutorial
- Beginner
- 2330
Cura's support blocker feature is a great tool that lets you prevent support structures from being printed in specific areas where they're not needed, saving you material, time, and effort in post-processing. In this article, we'll dive into the details of how the support blocker works, its benefits, and how to use it.
What is it?
Support structures are essential in 3D printing as they provide the necessary foundation for parts to be printed. Since 3D printers can't create structures in mid-air, supports are added to hold up the parts as they're printed. However, removing them after printing can be difficult and time-consuming.
Cura, like many other 3D slicers, has an overhang angle setting that only produces supports where an overhang meets or exceeds a set angle. Although this setting prevents unnecessary supports on lesser overhangs, there may be situations where supports are needed in one area but not another of the same angle.
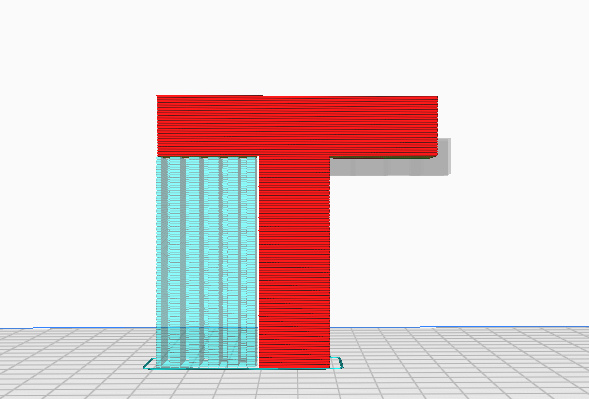
This is where Cura's support blocker, also known as a support eraser, comes in handy. This feature generates small transparent blocks that can be placed wherever supports aren't required.
Benefits of Blocking Supports
One of the main benefits of using Cura's support blocker feature is the ability to save material, time, and effort in post-processing. By preventing unnecessary supports from being printed, less material is used, reducing printing time and cost. Additionally, removing supports can be a time-consuming and tedious task, so by using the support blocker to prevent supports in certain areas, post-processing time and effort can be significantly reduced.
Another benefit is the ability to achieve better print quality by selectively blocking supports in areas where they may cause issues, such as obscuring details or leaving unsightly marks. By using the support blocker to strategically place supports only where they are needed, the resulting print can be cleaner and require less post-processing.
How to use it?
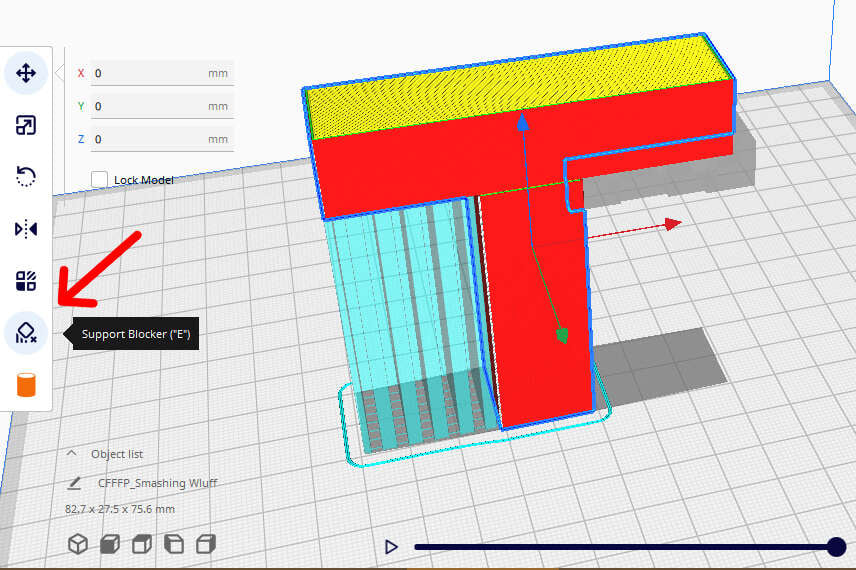
To use Cura's support blocker feature, first, open your 3D model in Cura. Once your model is loaded, activate the tool by clicking on the "Support Blocker" icon in the toolbar. Next, navigate to the model view and click on the areas where you want to block supports. You'll see small transparent blocks appear in those areas, indicating that supports will not be generated in those regions.
Tips
- Be careful when placing the support blocker cubes to avoid accidentally blocking supports in areas where they are needed.
- Use Cura's layer view mode to preview how the supports and the model will be printed with the support blockers in place. This way, you can make sure that the support blockers are functioning as intended and adjust them if necessary.
- Combine the support blocker feature with other support settings in Cura, such as the overhang angle and support density, to get the best results.