 International
 Singapore
 Malaysia
 Thailand
 Vietnam
Your shopping cart is empty!
Lesson 5 : RTC
- Abdul Salam A Haris
- 09 Mar 2023
- Tutorial
- 437
This tutorial will demonstrate how to set up the Real-Time Clock (RTC) on the CM4 Maker Board and display the current time on an OLED Display.
Please note that DSI and CSI are prohibited when using RTC.
I2C-10 is used by default.
Setup RTC
1. Synchronize system clock to hardware clock:
sudo hwclock -w
2. Synchronize hardware clock to system clock:
sudo hwclock -s
3. Read the hardware clock:
sudo hwclock -r
Setup OLED Display
Connect the OLED Display to the CM4 Maker Board via the Grove Port I2C, make sure the pin 2 on the CM4 Maker Board connected to the SDA pin on the OLED Display.
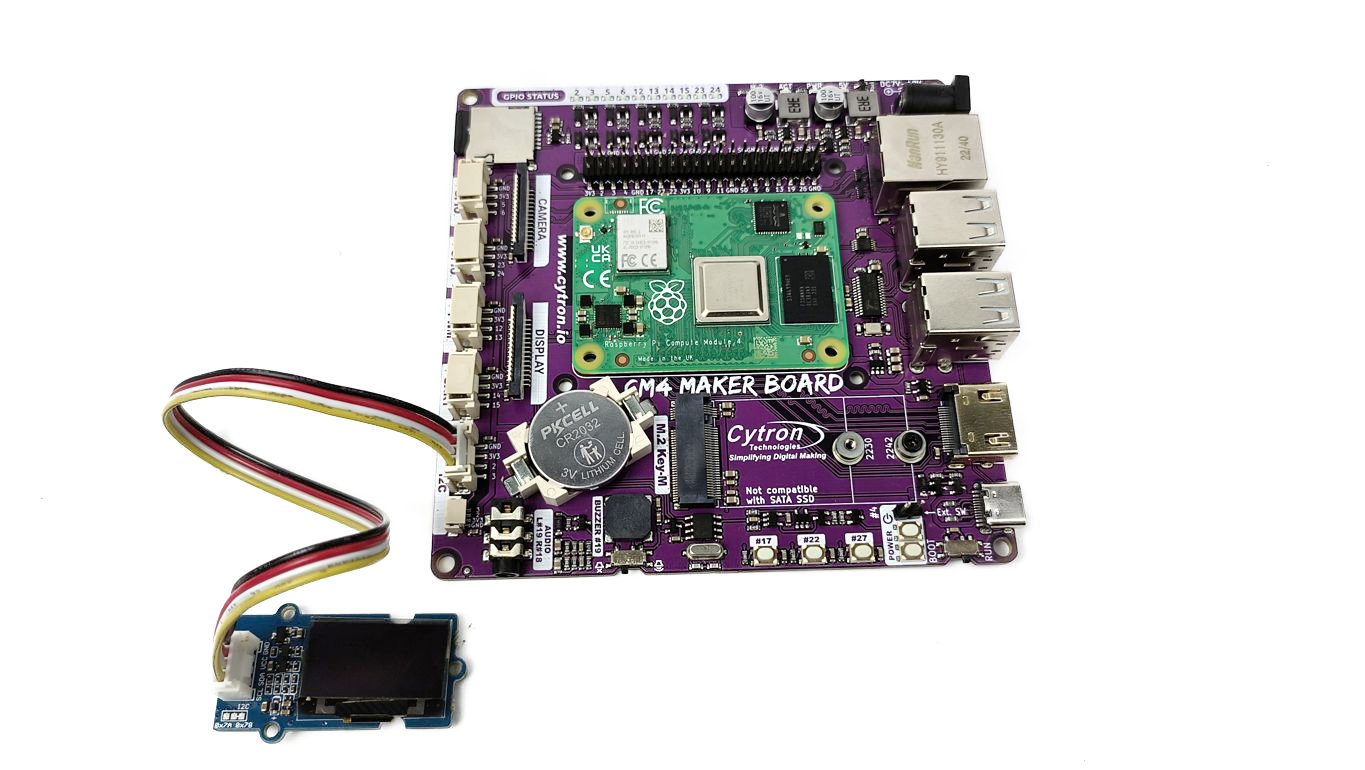
Figure 1: OLED Display connected to CM4 Maker Board.
Install the required libraries:
pip install Adafruit-GPIO

pip install Adafruit-SSD1306
Download the RTC lesson from Github:
git clone https://github.com/CytronTechnologies/Getting-Started-with-CM4-Maker-Board
Navigate to the RTC directory and run oled_clock.py:
cd Getting-Started-with-CM4-Maker-Board/'Lesson 5'/

python3 oled_clock.py
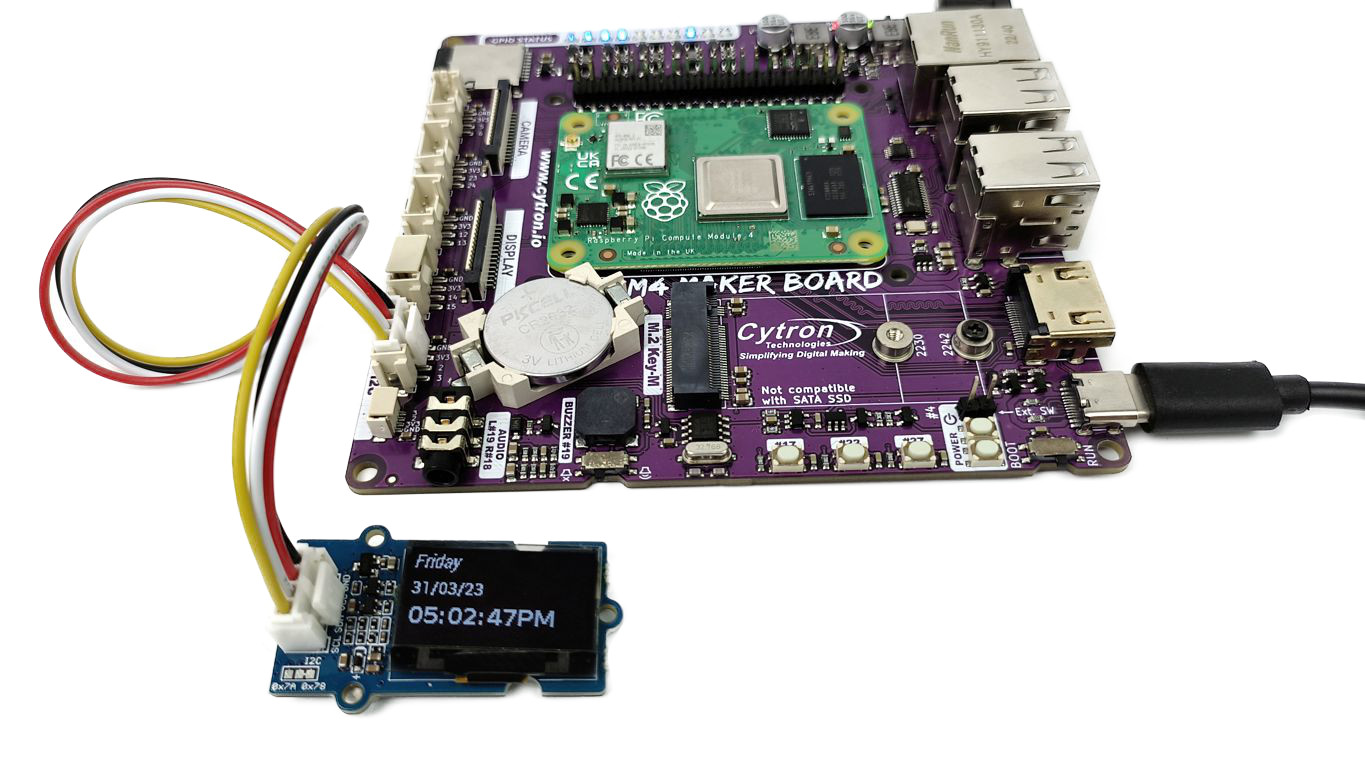
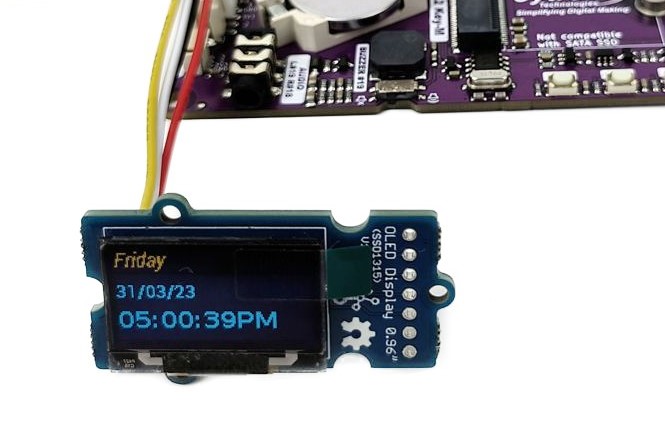
Figure 2: Real-time clock displayed on the OLED Display.
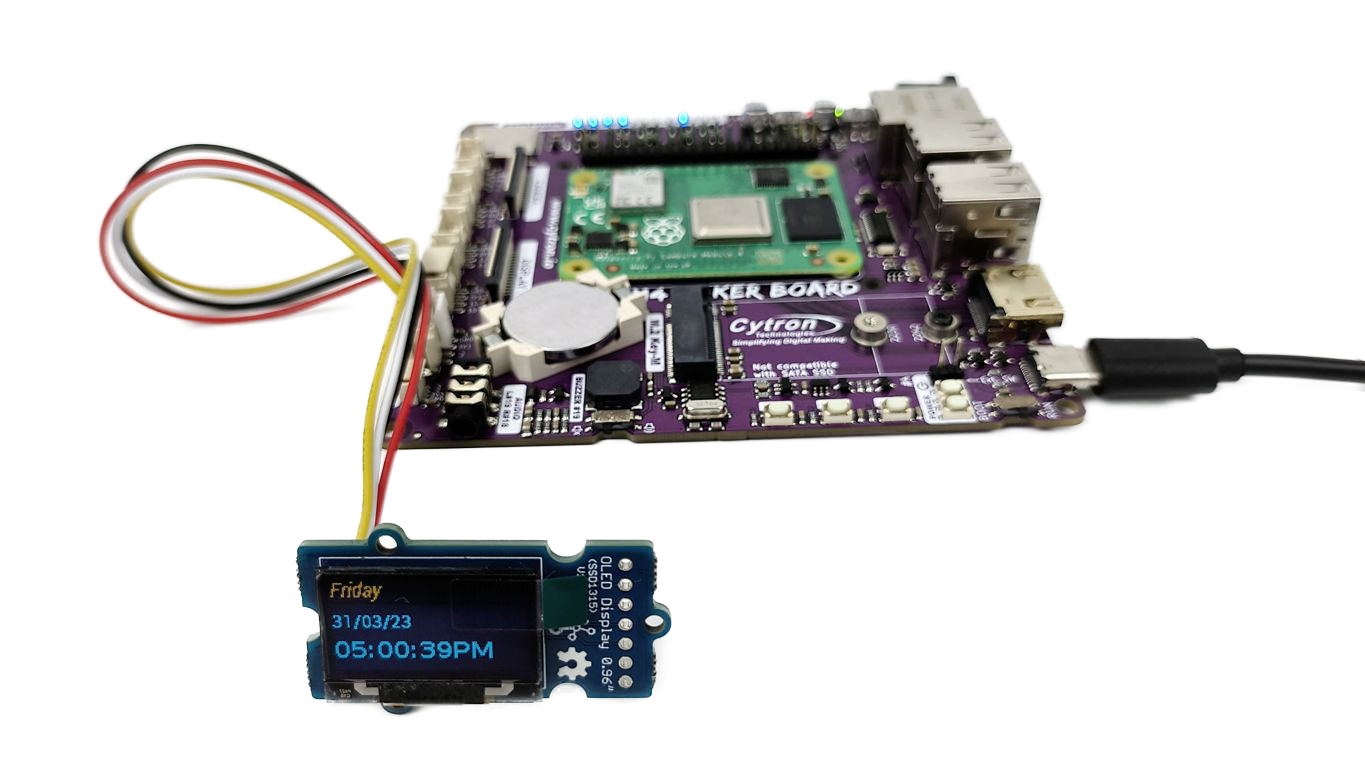
Figure 3: Real-time clock displayed on the OLED Display Yellow & Blue.
Setup Run the OLED Display on Boot
To automatically run the code after booting the CM4, follow these steps:
a. Open the crontab file:
crontab -e
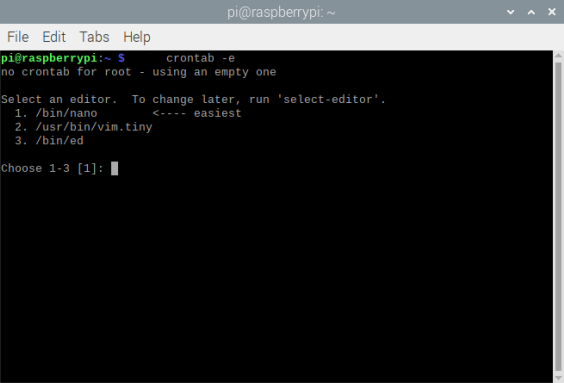
Figure 4: Select nano as the editor.
b. Paste the following line of code:
@reboot python3 ~/Getting-Started-with-CM4-Maker-Board/'Lesson 5'/oled_clock.py
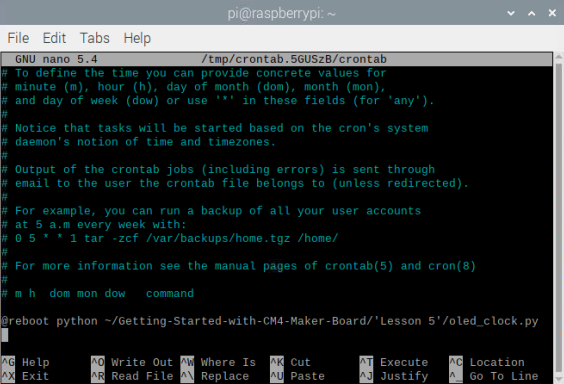
Figure 5: Added line of code to the crontab file.
c. Update the file:
update-rc.d cron defaults
There you go, the python script for the OLED Display will run automatically on boot.
To disable the Python script, repeat steps a. and c. but on step b. remove the command line from the crontab file instead.
Hardware Components

Grove - OLED Display 0.96 inch - SSD1315
Discontinued
x 1 unit(s)
")
Grove - SSD1315 OLED Display 0.96 inch (Yellow&...
Discontinued
x 1 unit(s)
 Out Of Stock
CM4 Maker Board & Kits : Maker’s Carrier Bo...
$56.00++ $56.00
x 1 unit(s)