Your shopping cart is empty!

Basic Commands to Run Raspberry Pi Camera
- Solehin Rizal
- 02 Oct 2024
- Tutorial
- Beginner
- 8498
Introduction
Welcome to this guide on using basic camera commands with Raspberry Pi, particularly for Raspberry Pi 5. In this tutorial, we’ll cover the essential rpicam commands to help you capture images, record videos, and test your camera with ease. Whether you're a beginner or an experienced user, these commands will make your Raspberry Pi camera projects simple and efficient. For more detailed instructions and advanced settings, refer to the official Raspberry Pi documentation.
1. Test Your Camera with rpicam-hello
Before capturing photos or videos, it's a good idea to test if your camera is properly connected and working. The rpicam-hello command opens a live preview, allowing you to confirm that your setup is correct.
rpicam-hello
Tip: Use -t to set the duration for the live preview. For example, rpicam-hello -t 5000 displays a 5-second preview.
2. Capture a Still Image with rpicam-vid
This command captures a still image and saves it as an image file. It's essential for projects involving photography or image processing.
rpicam-still -o test.jpg
Options:
- -t : Adds a delay before taking the photo (in milliseconds). For example,
rpicam-still -t 3000 -o test.jpgwill take a photo after 3 seconds. - --width and --height : Set a custom resolution. Example:
rpicam-still --width 1920 --height 1080 -o test.jpgfor full HD resolution.
3. Record a Video with rpicam-vid
If you’re working on video projects, the rpicam-vid command is your go-to for recording high-quality videos.
rpicam-vid -t 10000 -o test.mp4
Options:
- -t : Sets the video duration (in milliseconds). The above example records for 10 seconds.
- -f : Displays a live preview while recording
- --width and --height : Set a custom video resolution. For example,
rpicam-vid --width 1920 --height 1080 -t 10000 -o test.mp4will record a 10-second video in full HD.
Others Command That Might You Need
1. help
- Purpose: Displays all available options for the app.
Example:
rpicam-hello --help
2. version
- Purpose: Prints the version of libcamera and rpicam-apps.
Example:
rpicam-hello --version
3. list-cameras
- Purpose: Lists all detected cameras and their modes.
Example:
rpicam-hello --list-cameras
4. camera
Purpose: Selects a specific camera from the list of detected ones.
Example:
rpicam-hello --camera 1
5. config
Purpose: Loads configuration from a file.
Example:
rpicam-hello --config config.txt
6. timeout
Purpose: Sets how long the app runs (in milliseconds).
Example:
rpicam-hello --timeout 10000
7. preview
Purpose: Defines the size and position of the preview window.
Example:
rpicam-hello --preview 100,100,640,480
8. fullscreen
Purpose: Displays the preview window in full screen.
Example:
rpicam-hello --fullscreen
9. nopreview
Purpose: Disables the preview window.
Example:
rpicam-hello --nopreview
10. info-text
Purpose: Sets custom information to display on the preview.
Example:
rpicam-hello --info-text "%frame %fps"
11. width and height
Purpose: Sets the resolution of the captured image or video.
Example:
rpicam-vid --width 1920 --height 1080
12. mode
Purpose: Specifies camera mode, including resolution and bit depth.
Example:
rpicam-hello --mode 4056:3040:12:P
13. hflip
Purpose: Flips the image horizontally.
Example:
rpicam-hello --hflip
14. vflip
Purpose: Flips the image vertically.
Example:
rpicam-hello --vflip
15. rotation
Purpose: Rotates the image (0 or 180 degrees).
Example:
rpicam-hello --rotation 180
16. roi
Purpose: Crops the camera's field of view.
Example:
rpicam-hello --roi 0.25,0.25,0.5,0.5
17. hdr
Purpose: Enables or disables HDR mode.
Example:
rpicam-hello --hdr auto
18. sharpness
Purpose: Adjusts image sharpness.
Example:
rpicam-hello --sharpness 1.5
19. contrast
Purpose: Adjusts image contrast.
Example:
rpicam-hello --contrast 1.0
20. brightness
Purpose: Adjusts image brightness.
Example:
rpicam-hello --brightness 0.5
21. saturation
Purpose: Adjusts color saturation.
Example:
rpicam-hello --saturation 1.2
22. ev
Purpose: Sets exposure value (EV) compensation.
Example:
rpicam-hello --ev 0.5
23. shutter
Purpose: Sets the exposure time in microseconds.
Example:
rpicam-hello --shutter 10000
24. gain
Purpose: Adjusts camera gain.
Example:
rpicam-hello --gain 2.0
25. metering
Purpose: Sets the metering mode for auto exposure.
Example:
rpicam-hello --metering spot
26. Adjusting Framerate
Purpose: Framerate (frames per second or FPS) is important for video quality. You can set it between 2 and 30 FPS for most applications, with 30 being the default for smooth video.
Example: rpicam-vid --framerate 24 -t 10000 -o test.mp4
27. Adjusting Resolution
Purpose: Resolution defines the width and height of your image or video. Common resolutions include:
- HD (1280x720)
- Full HD (1920x1080)
- 4K (3840x2160)
Example:
- For still images:
- rpicam-still --width 1920 --height 1080 -o test.jpg
- For video:
- rpicam-vid --width 1920 --height 1080 -t 10000 -o test.mp4
With these simple rpicam commands, you can start using your Raspberry Pi camera right away. Whether you're capturing images, recording videos, or simply testing the setup, these commands offer flexibility and ease of use.
Be Part of Our Growing Community!
Hardware Components
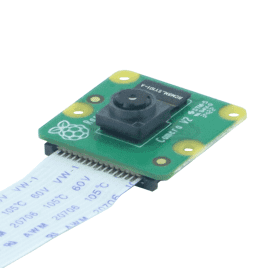
Raspberry Pi 8MP Camera Module V2
$16.50 $16.50
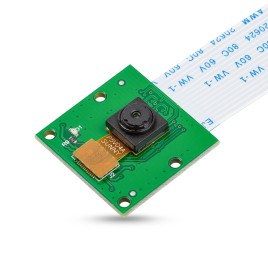
5MP OV5647 Camera Module for Raspberry Pi
$7.25 $7.25
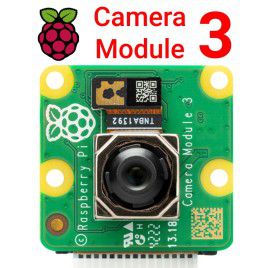
Raspberry Pi Camera Module 3 - 12MP with Auto F...
$27.50++ $27.50
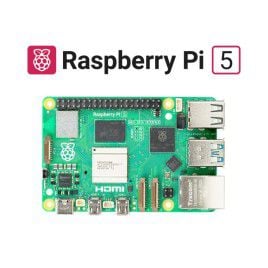
Raspberry Pi 5 Single Board Computer
$55.00++ $55.00
 International
 Singapore
 Malaysia
 Thailand
 Vietnam

