 International
 Singapore
 Malaysia
 Thailand
 Vietnam
Your shopping cart is empty!

Set Up piSignage on Raspberry Pi for Digital Signage
- Solehin Rizal
- 30 Dec 2024
- Tutorial
- Intermediate
- 2924
Introduction
This tutorial will guide you through setting up piSignage with a Raspberry Pi 5. piSignage is a digital signage solution for displaying videos, images, and web content efficiently using a Raspberry Pi device.
Video Tutorial
Requirements
Hardware:
- Raspberry Pi 5 (with power supply and cooling system)
- MicroSD card (8GB or larger, Class 10 recommended)
- Keyboard and mouse (optional, for setup)
- Card reader for flashing the OS
Software:
- Raspberry Pi Imager
- piSignage OS image (from GitHub)
- piSignage account (Free or Paid)
Step 1: Flash piSignage OS to the MicroSD Card
Download piSignage Image:
1. Go to GitHub and download the latest piSignage player image.
Install Raspberry Pi Imager:
2. Download and install Raspberry Pi Imager from the official Raspberry Pi website.
Flash the Image:
- Insert your MicroSD card into the computer.
- Open Raspberry Pi Imager, choose Custom, and load the piSignage image file.
- Choose your MicroSD card and click Write. Wait for the process to complete.
Step 2: Initial Setup on Raspberry Pi
1. Insert the MicroSD card into your Raspberry Pi 5.
2. Connect the HDMI cable to a display, plug in Ethernet, and power up the Raspberry Pi.
3. Boot up and note the unique player ID displayed on the screen.
Configure WiFi (if required):
- Press CTRL + N to open the Network Configuration Tool.
- Select WiFi Config and enter your WiFi SSID and password.
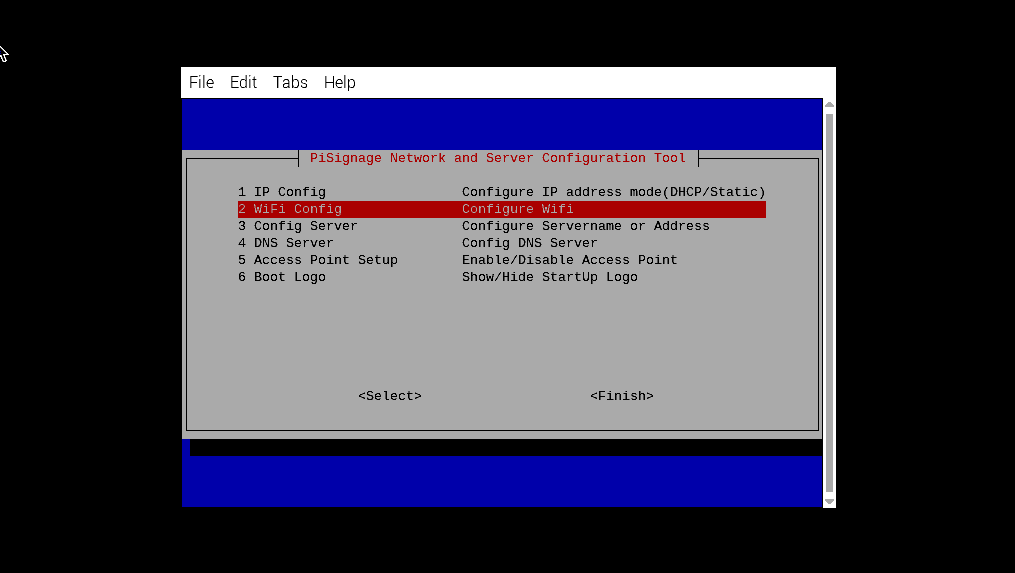
- Exit and restart the player to connect to WiFi.
Step 3: Register the Player on piSignage
1. Create an account at piSignage.com.
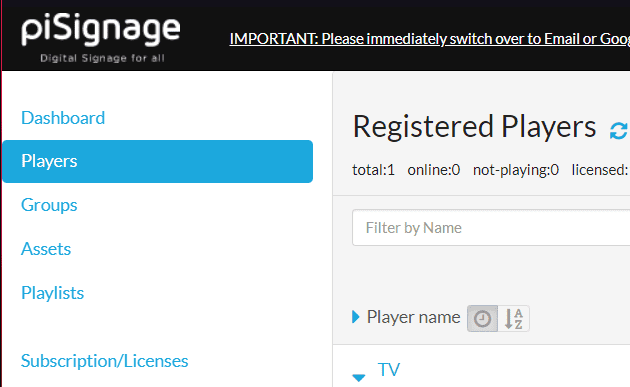
2. Go to the “Players” section and click Register Player.
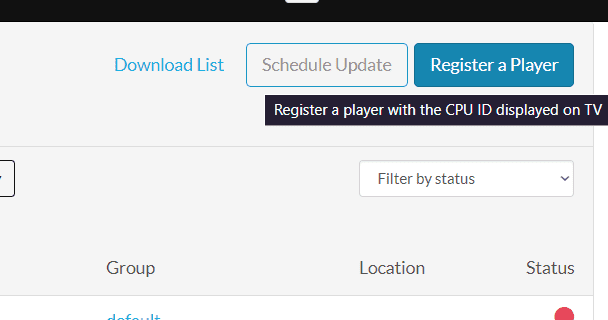
3. Enter the unique Player ID displayed on your Raspberry Pi and save.

Step 4: Upload and Deploy Content
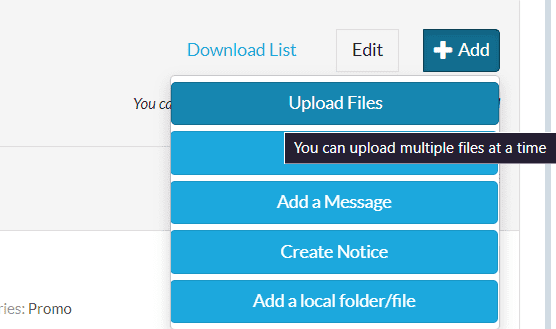
Upload Media:
- Go to the “Assets” tab in piSignage.
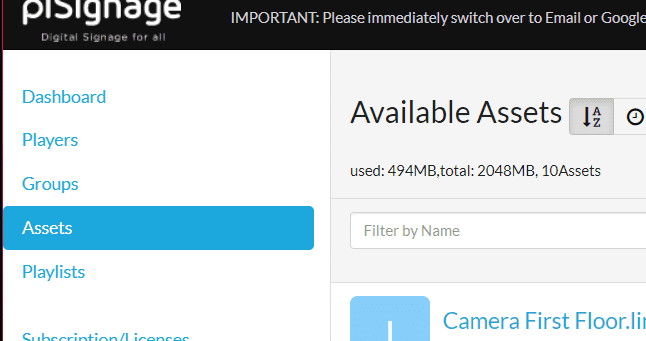
- Upload videos, images, or URLs as content.
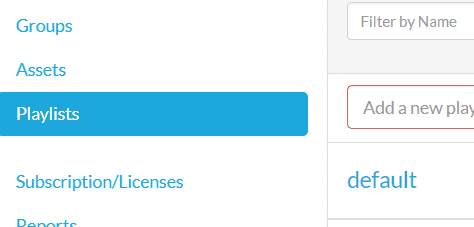
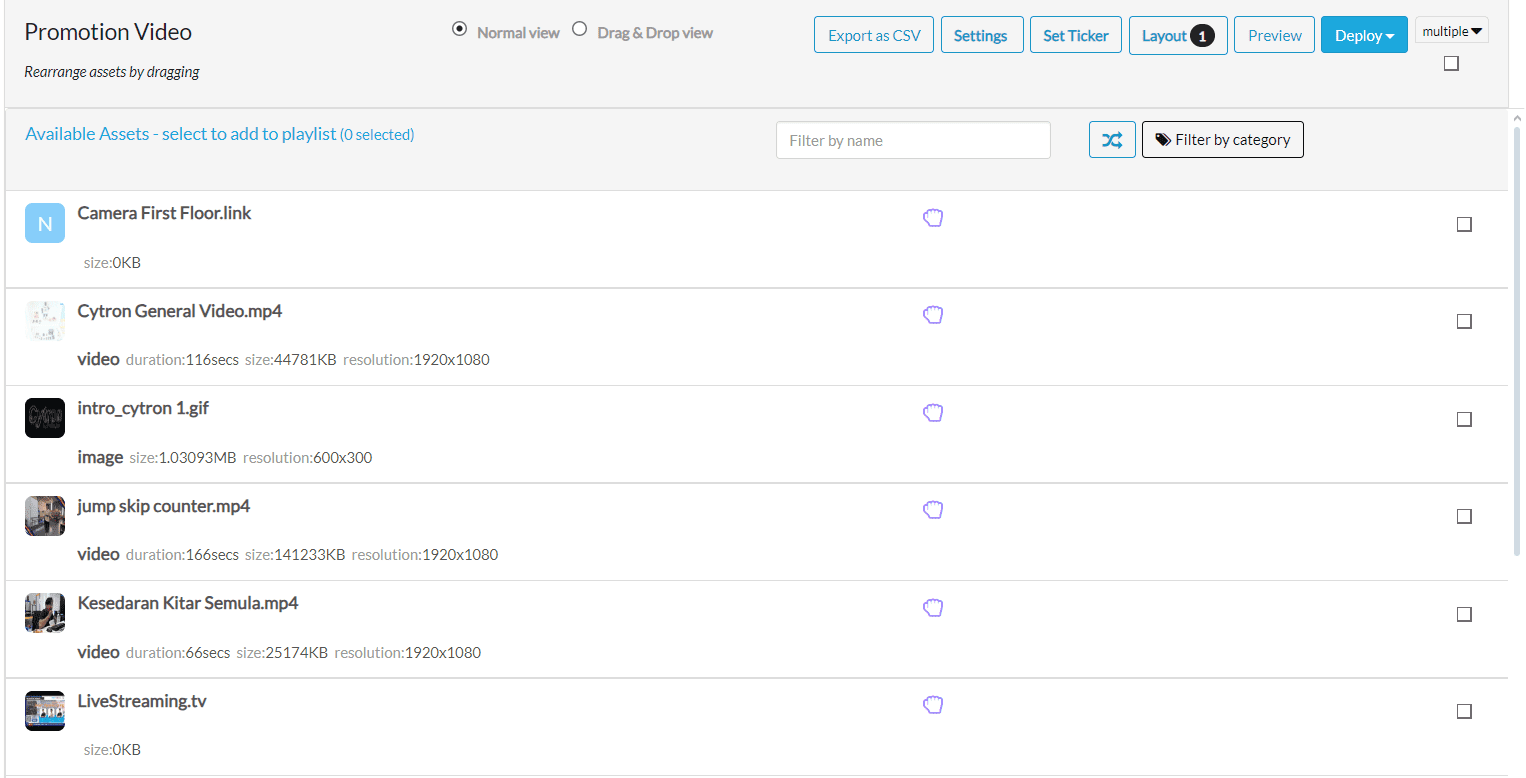
Create and Assign Playlists:
- Navigate to the “Playlists” tab and click Create Playlist.
- Add assets to your playlist and assign it to your player.
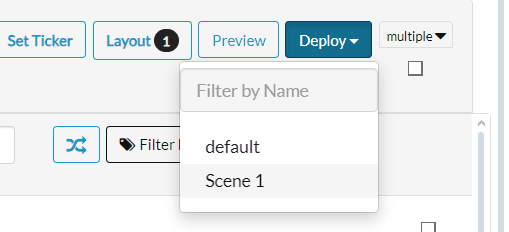
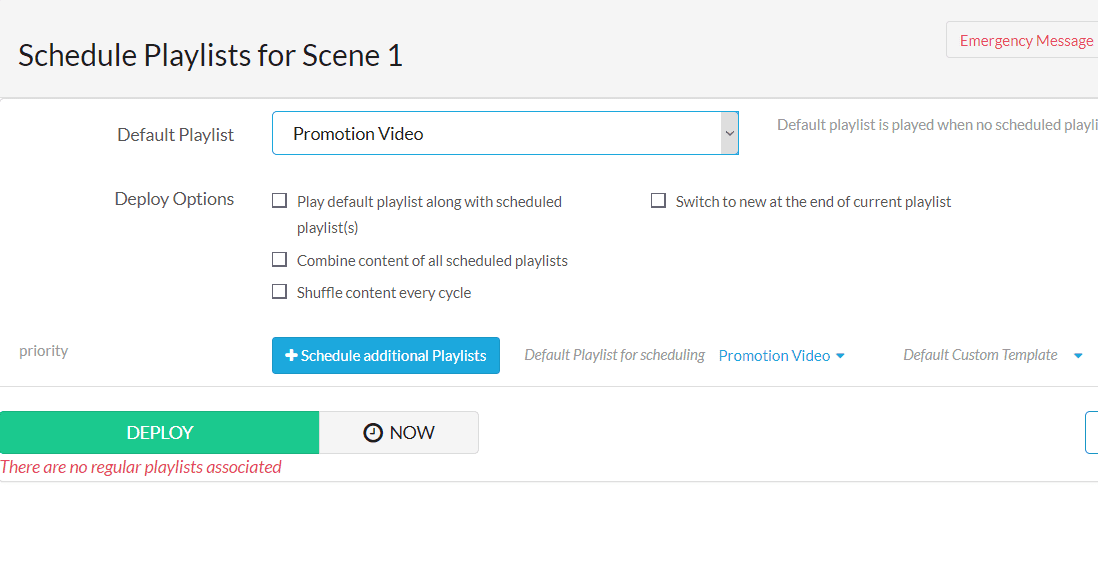
Deploy Playlist:
1. Go to the “Players” section, select the registered player, and deploy the playlist.
Step 5: Monitor and Troubleshoot
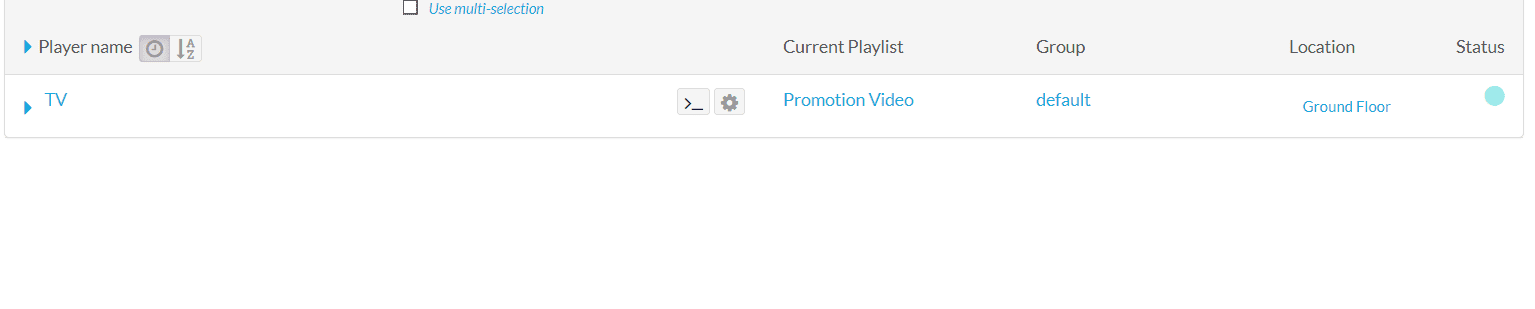
Monitor Players:
- Check player status and connectivity under the “Players” tab.
Conclusion
Setting up piSignage with a Raspberry Pi 5 is a quick and cost-effective solution for digital signage. You can easily manage and display dynamic content across multiple screens.
Be Part of Our Growing Community!

Hardware Components

Raspberry Pi 5 Single Board Computer
$55.00++ $55.00
x 1 unit(s)
Related Posts

X-ray of Raspberry Pi 5: Inside the RP1 Silicon Project
Is there any easter egg on the latest Raspberry Pi 5? Let's check out the X-ray image that we managed to get...
Raspberry Pi 5 AI Kit: Booth Visitor Counter
"Learn how to build a booth visitor counter using Raspberry Pi 5, Hailo8L AI accelerator, and YOLO-based computer vision for real-time visitor tracking and analytics."..