Your shopping cart is empty!

Getting Started with 3A Motor Driver Shield and Arduino Uno
- Idris Zainal Abidin
- 15 Jun 2017
- 1596
Last Updated on 15 June 2017

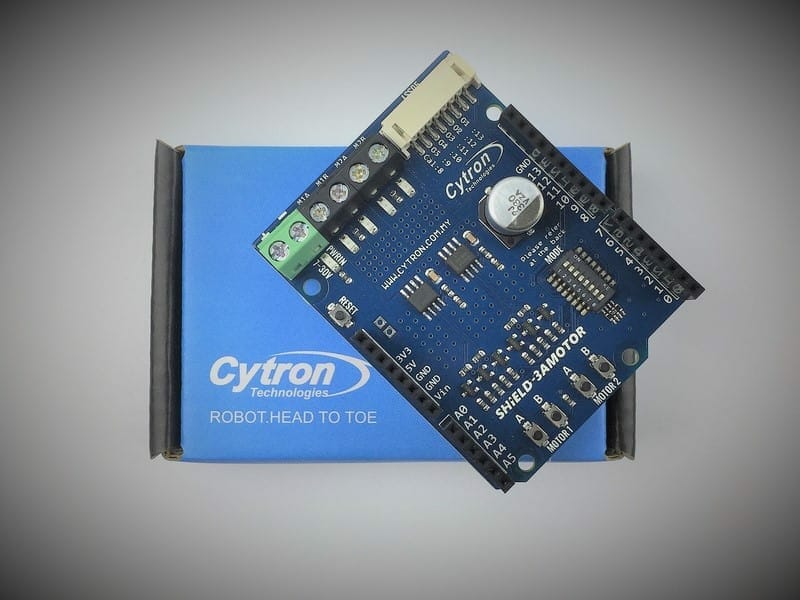
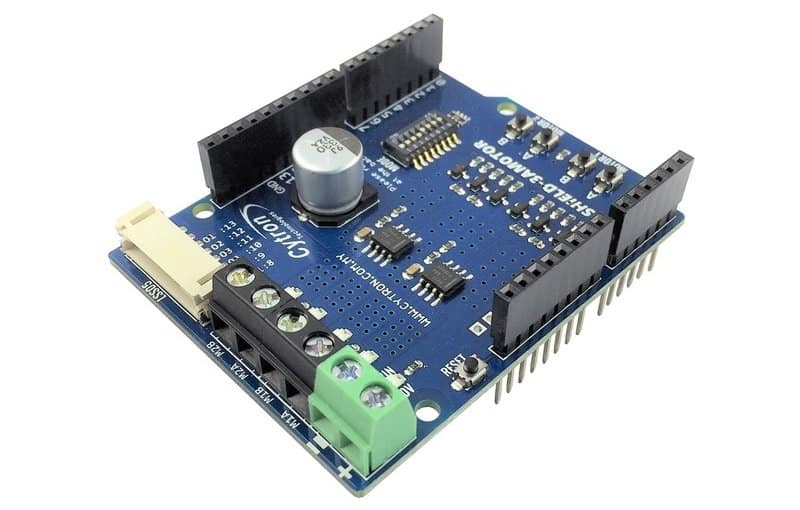
Previously we have 2A Motor Driver Shield where you can control 2 motors by using Arduino Uno R3 form factor. Now we have another improvement product which is 3A Motor Driver Shield. 3A Motor Driver Shield is an Arduino shield dual channel motor driver which offers 3A peak of current and 1.2A of current continuously at each channel. It is compatible with most Arduino main boards and Arduino Uno R3 form factor, i.e Uno, Leonardo, Mega, Zero, 101, CT ARM and etc. It uses DRV8871 chip and support for both signed magnitude and locked anti-phase. Compare to previous shield, 3A Motor Driver Shield can handle higher current up to 3A together with auto current limit protection.

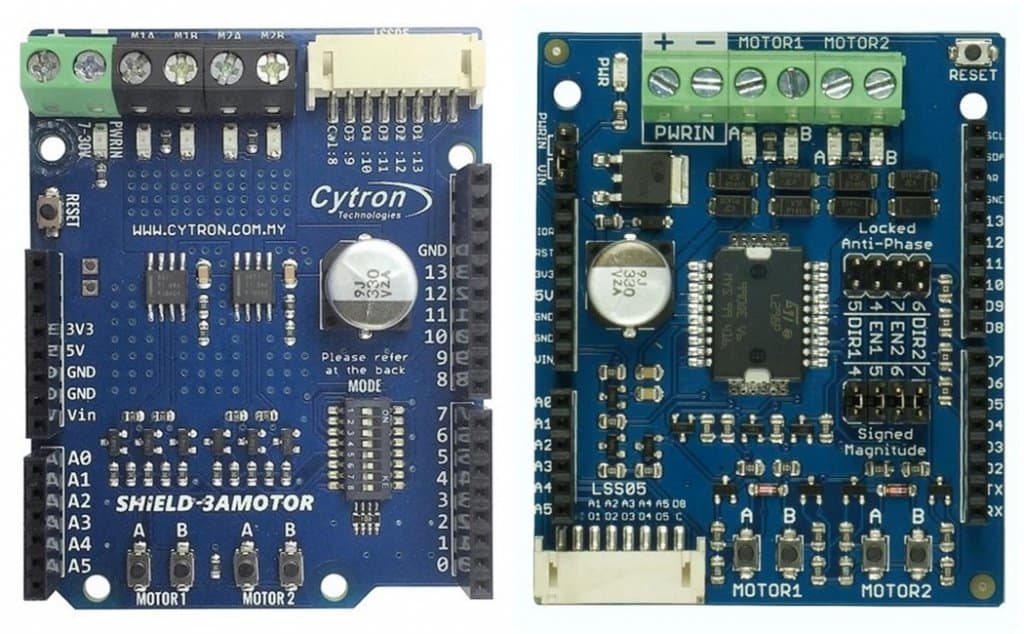
Below is the table of comparison between 3A Motor Driver Shield and 2A Motor Driver Shield:
| PARAMETERS | 3A Motor Driver Shield | 2A Motor Driver Shield |
| Voltage Range | 7 - 30Vdc | 5 - 26Vdc |
| Maximum Current | 3A | 2A |
| Continuous Current | 1.2A | 0.8A |
| Current Limit Protection | Yes | No |
| PWRIN Polarity Protection | No | Yes |
| Mode Selection | DIP Switch | Mini Jumper |
Now I will show you how to get start with 3A Motor Driver Shield. We will use a test button and Arduino sample code to run the motors.
HARDWARE REQUIREMENT
- Arduino Uno or CT UNO
- 3A Motor Driver Shield
- DC 12V Worm Gear Motor (200RPM)
- 3.7V 1100mAh Li-Ion Battery x3
- 3x18650 Battery Holder
- USB B Type Cable (for Arduino Uno) or USB Micro B Cable (for CT UNO)
SOFTWARE REQUIREMENT
Arduino IDE, you can download it at www.arduino.cc.
STEPS
- Connect DC DC 12V Worm Gear Motor (200RPM) to MOTOR1 and MOTOR2 terminal connector. Don’t care about motor polarity, it only effect on motor direction.
- Connect battery to PWRIN terminal connector. Please be careful on the polarity! It can damage your board if the battery polarity is reverse!
- At this stage, you can test your hardware by pressing MOTOR1/MOTOR2 test button. If A is pressed, current will flow from output M1A/M2A to M1B/M2B. Vice Versa.
If everything works, now you can start to program your Arduino Uno/CT UNO with 3A Motor Driver Shield Arduino example. You can download the library at our GitHub link and install to Arduino.
Open SignedMagnitude example (File - Examples - Cytron 3A Motor Driver Shield) and upload to your Arduino Uno/CT UNO. The motor will run continuously once the uploading complete.
You can try with other example or you might edit the sketch to meet your application. Thanks! :)
REFERENCES
For more information, please refer to 3A Motor Driver Shield User's Manual.
Note: For further inquiry, please visit to our technical forum as we seldom check the comment here. :)
Related Products
0.8Amp 5V-26V DC Motor Driver Shield for Arduin...
$12.00 $12.00
1.2Amp 7V-30V DC Motor Driver Shield for Arduin...
$19.90 $19.90
 International
 Singapore
 Malaysia
 Thailand
 Vietnam

